If you had the perfect dress in mind, what sewing patterns & fabrics would you choose? What design changes would you make? Even though she’s new to sewing and fashion drawing, Reiko has been making her dress design dreams come true. Read on to see how Reiko uses drawing on her MyBodyModel croquis to bring her DIY fashion ideas to life – Including the perfect tiered Ashton dress hack!
In 2020, when we were all thrown into a stay-at-home lifestyle, I needed something to do. I pulled out my sewing machine and started sewing reusable masks. Once I had my fill of making masks, I still needed something to do. I looked at my sewing machine and thought to myself, “I wonder if I could sew myself some clothes?” And that is how my pandemic hobby was born.
I truly believe that you can learn anything on the internet. Sewing has been no different for me. There are so many patterns, classes, and resources online. I took a couple classes and dove right in. A little over a year in, I’ve learned so many great skills and am really enjoying having clothes that actually fit my body. I still consider myself a beginner sewist but maybe more of a tenacious beginner.
A few months ago, I stumbled upon My Body Model. I was initially attracted to the ability to make a custom croquis. I loved the idea of having my own body as a croquis but didn’t actually purchase one because I had no idea what I would do with it. I finally got around to looking up the website and was thrilled to find that they have classes! I purchased the Paper Dolls for Grownups and Digital Drawing Basics classes and binged them over a single weekend. Erica made the drawing process so practical and easy. She’s a really great teacher.
I immediately started drawing everything! It was so fun to see my ideas come to life! It wasn’t long until I found some practical applications to this new superpower I possessed.
- Using sketching to decide on fabrics.
I had an idea to make a Made by Rae Trillium dress out of some beautiful grey windowpane linen. I wanted a contrast peter pan collar but it’s so hard to decide on coordinating fabrics when you can’t just go to the store. I made up a sketch using fabric “swatches” from a local store’s website. Seeing the sketches made it really easy to envision my choices.
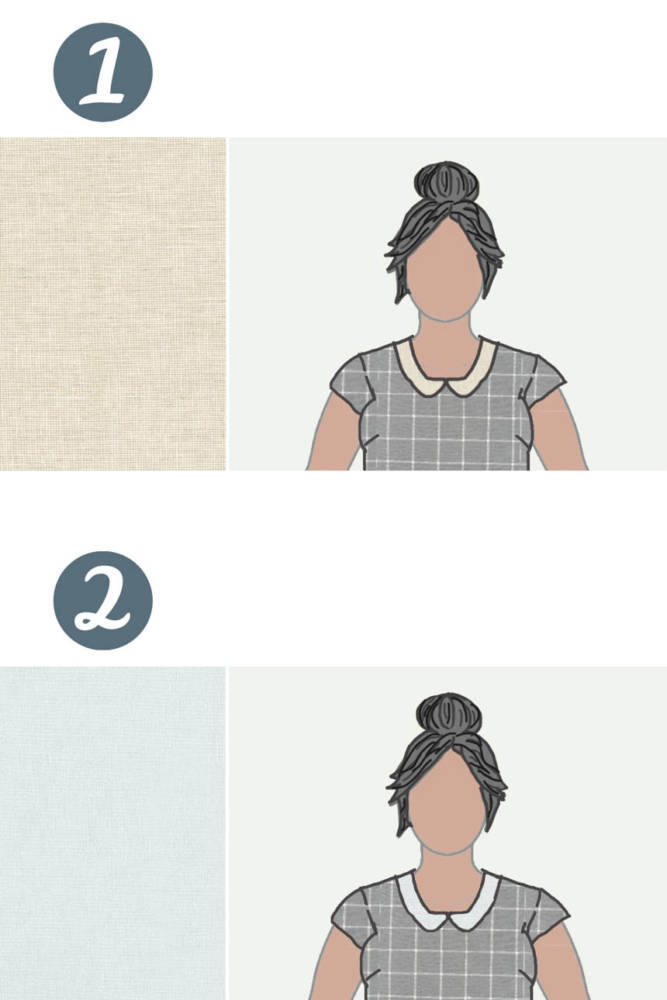
I decided on option 1 because I liked the warmer look.
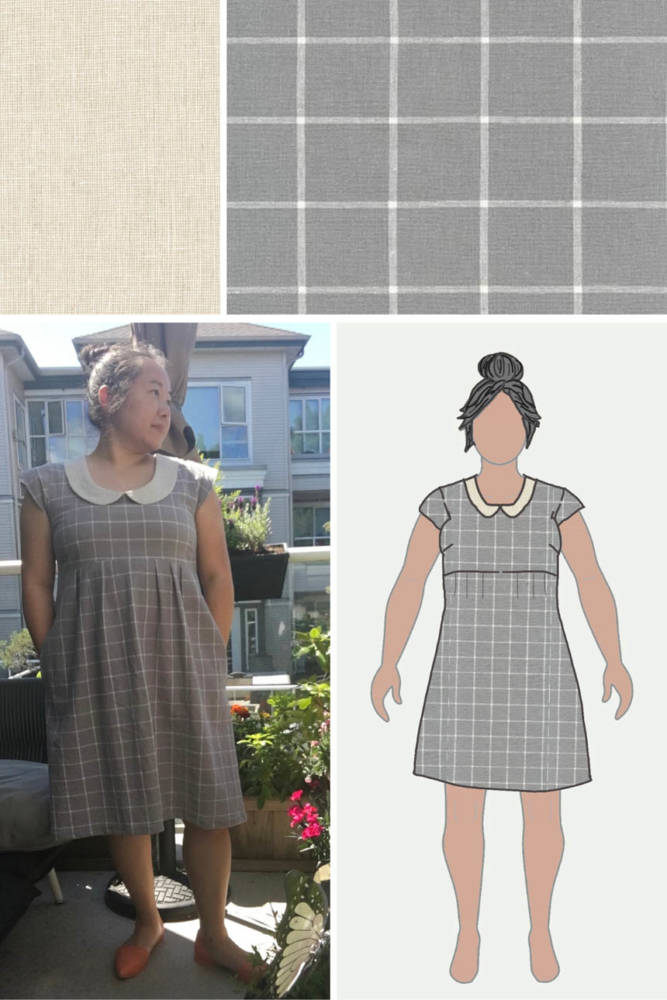
2. Using sketching to decide on design features.
When the Mave Skirt pattern by True Bias came out, I was so excited! I’d always wanted a swishy skirt! I stared at the pattern for ages. There are so many options! I finally decided which fabric from my stash I wanted to use and got to sketching. I already had a Cielo top (Closet Core Patterns) made out of the fabric so I wanted to make sure that they would look good together.
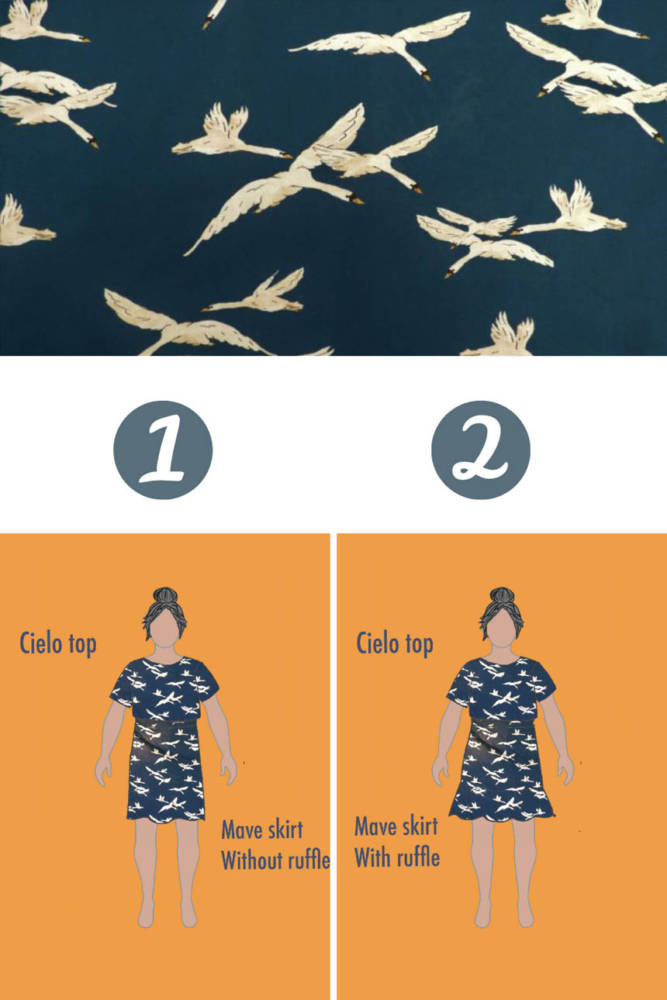
I think the ruffle version adds more interest and balances out the top.
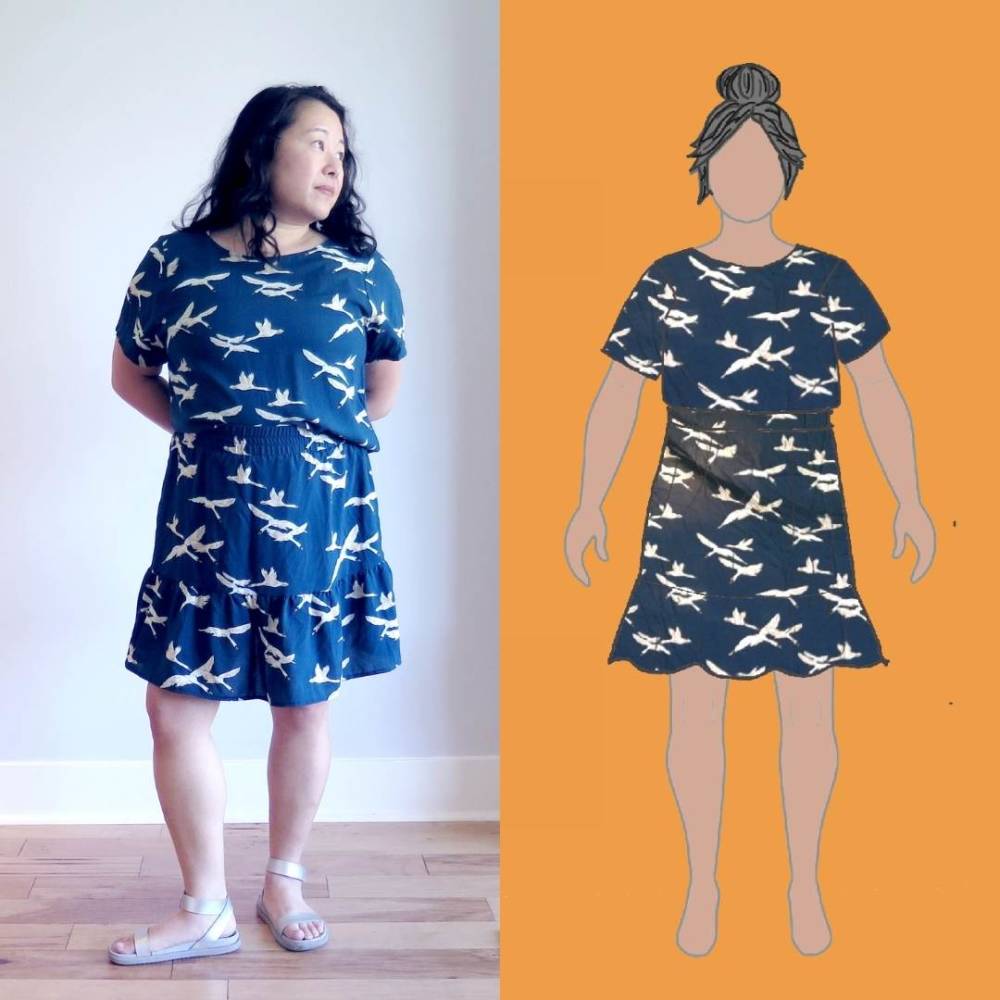
Bringing it all together: The perfect Ashton dress hack
When Erica got in touch with me to do this blog post, I knew which project I wanted to tackle. I’d been wanting to hack the Ashton top (Helen’s Closet) into a tiered dress. I’d seen so many variations online and knew the perfect way to make some decisions.
Step 1: Compare design ideas
I sketched out some options for different design features I was considering for my Ashton dress hack.
Tip: If you do the different features as different layers, you can quickly flip through your options to see what you like better.
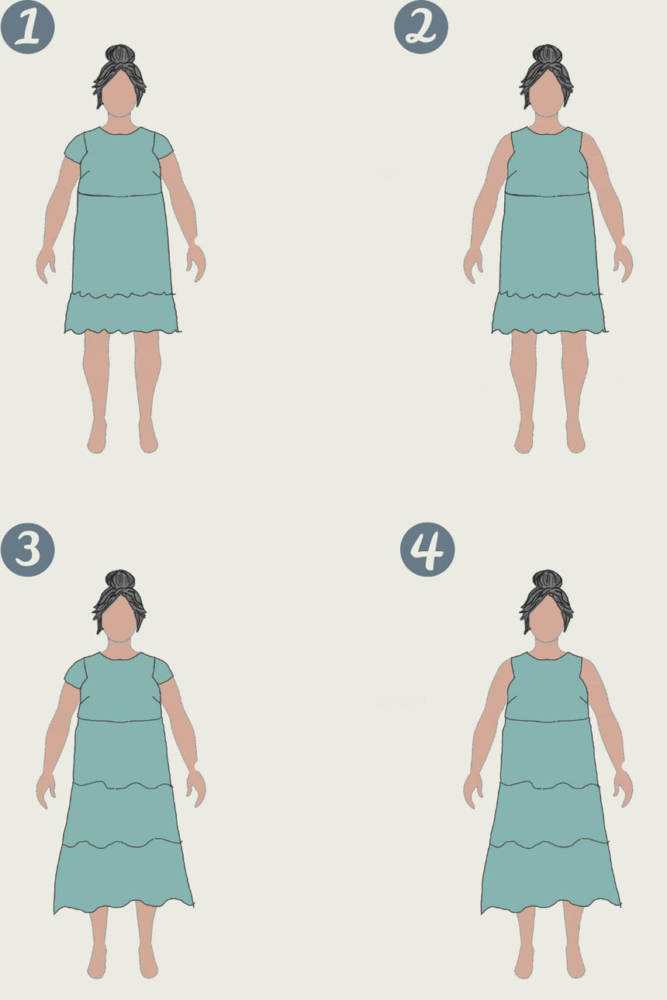
For my first Ashton dress hack, I decided to go for Option #4: a sleeveless version with a 3 tiered skirt.
Step 2: Choose a fabric
I had 3 fabrics that I was considering for my Ashton dress hack. I whipped up some comparison sketches and to compare.
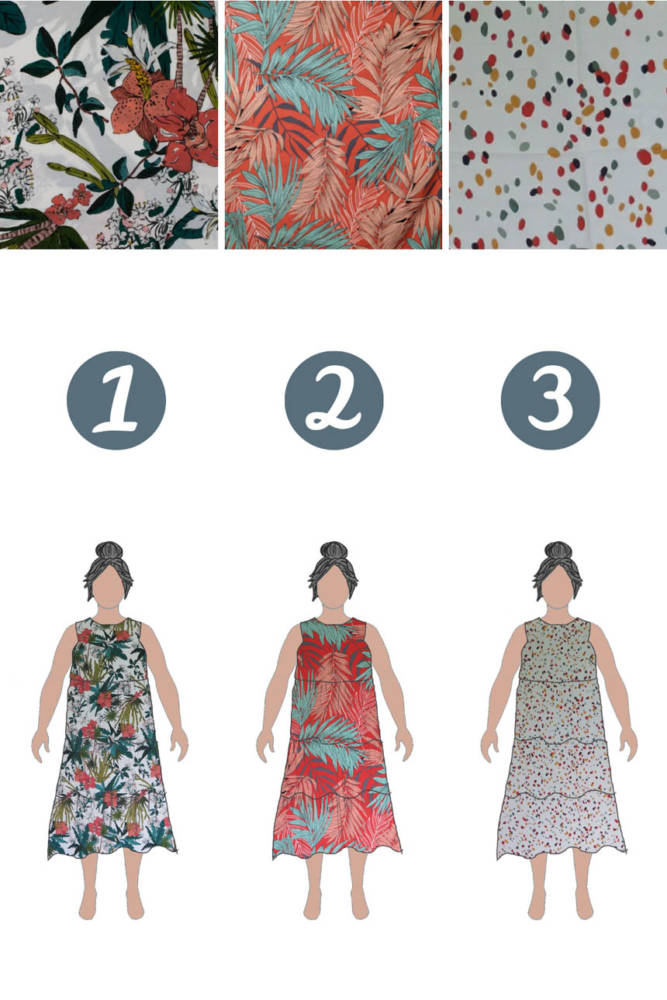
I decided that I like option 1 and 2, but option 3 is … meh. I think I’ll save it for something else.
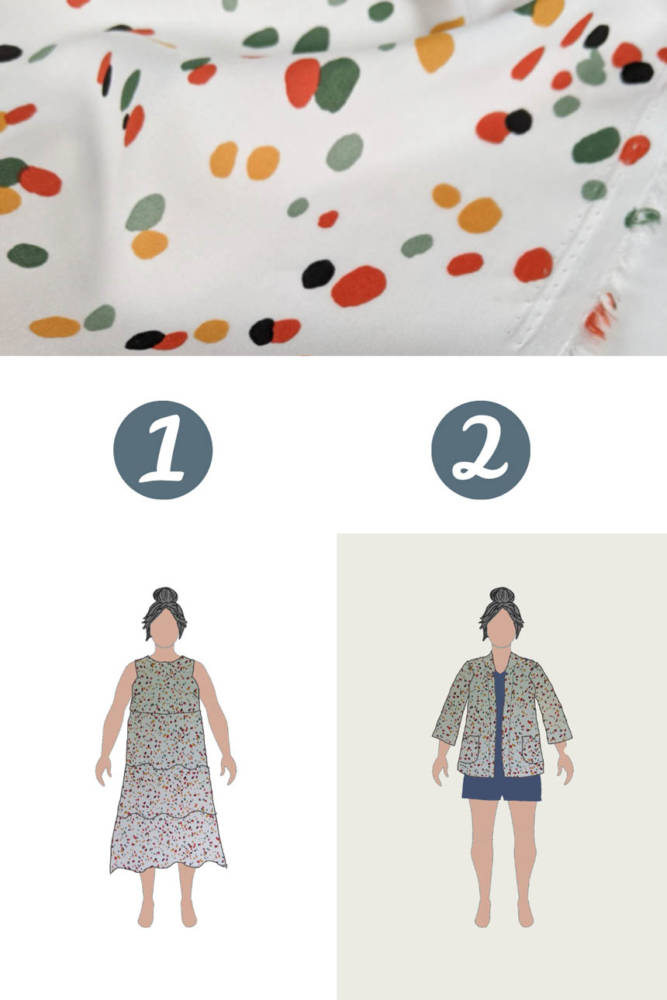
I remembered that I still had a sketch of a Nenuphar jacket by Deer and Doe from a previous make. As suspected, fabric option 3 will make a better jacket than a dress. I love that, once you have a few TNT (“tried and true”) patterns sketched, you can quickly plop in a fabric to see how it will look.
Step 3: Design features + fabric together
Sometimes, I find that seeing the sketch in the actual fabric can change your opinion on some of the design features. So I went back and looked at the sleeve options again.
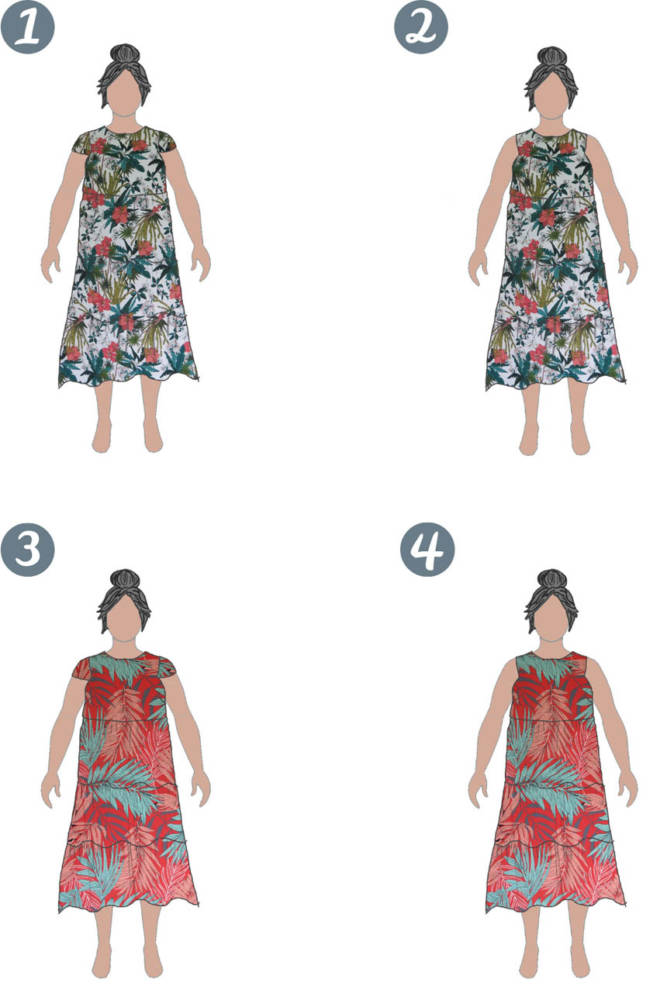
As it turns out, I like the cream option as a sleeveless dress and the rust option with sleeves.
Step 4: Sew!
We’re in the middle of a heat wave, so I made the sleeveless version first. I document all of my makes quite extensively in case I want to re-make them in the future. I like documenting my hacks like this rather than with written instructions.
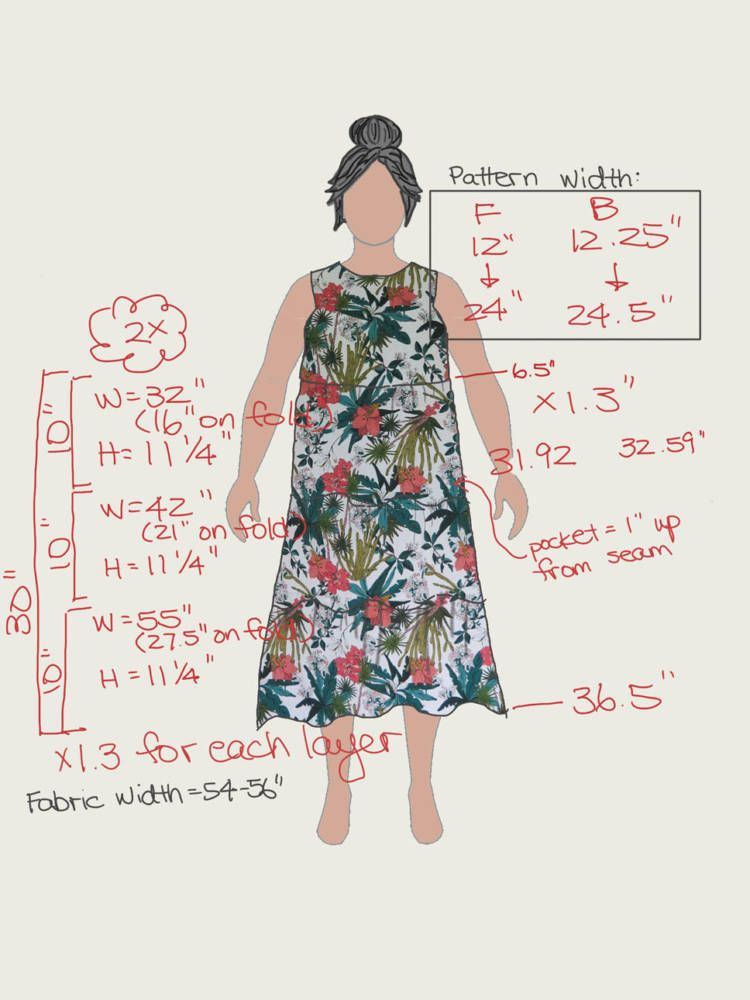
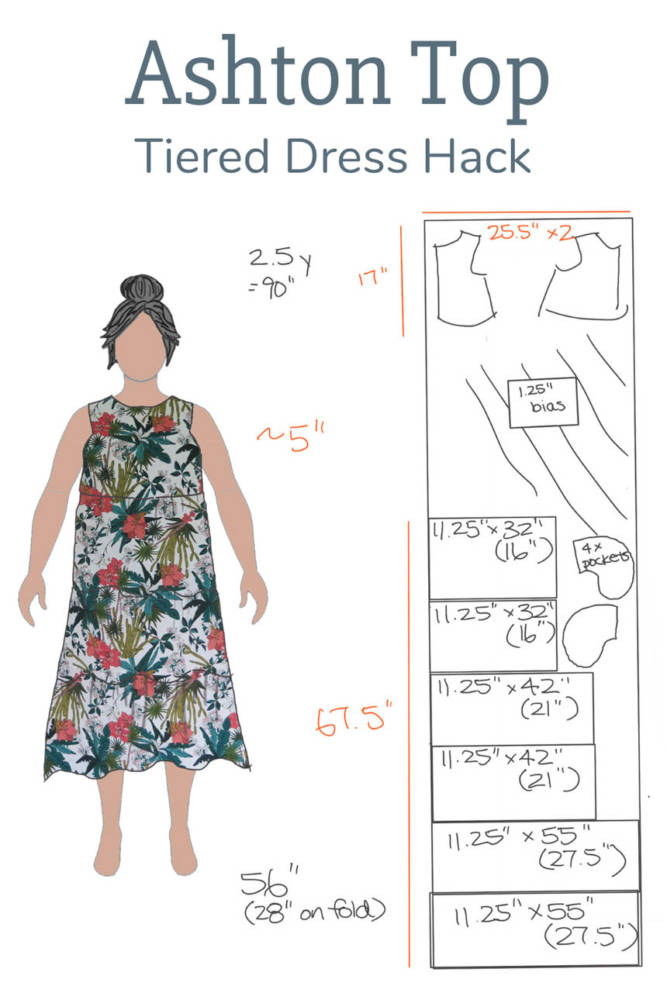
Step 5: Wear!
I love this tiered dress and can’t wait to take it on vacation next week.
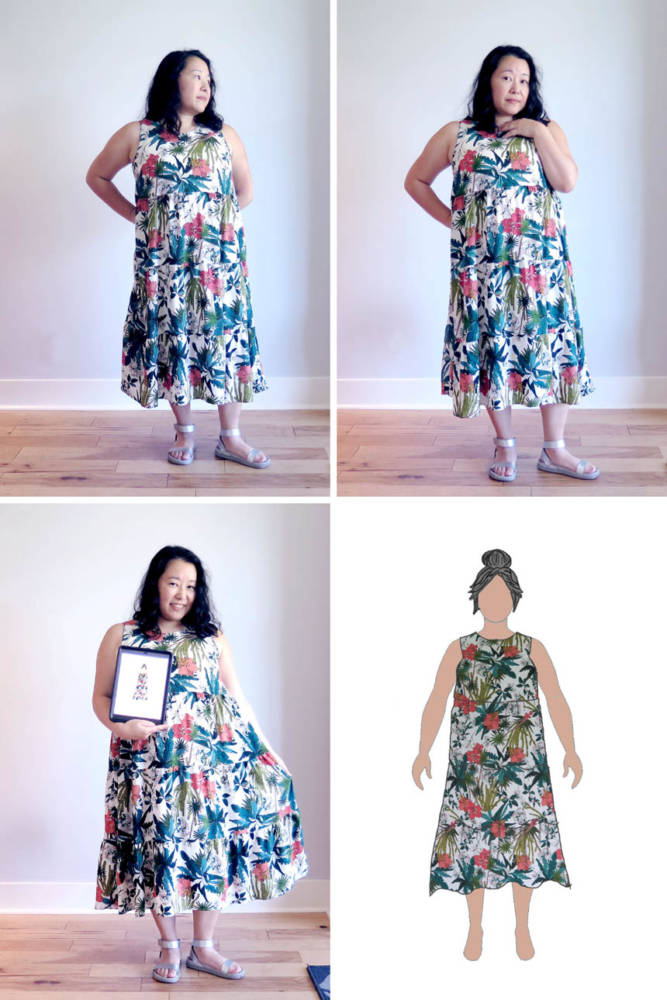
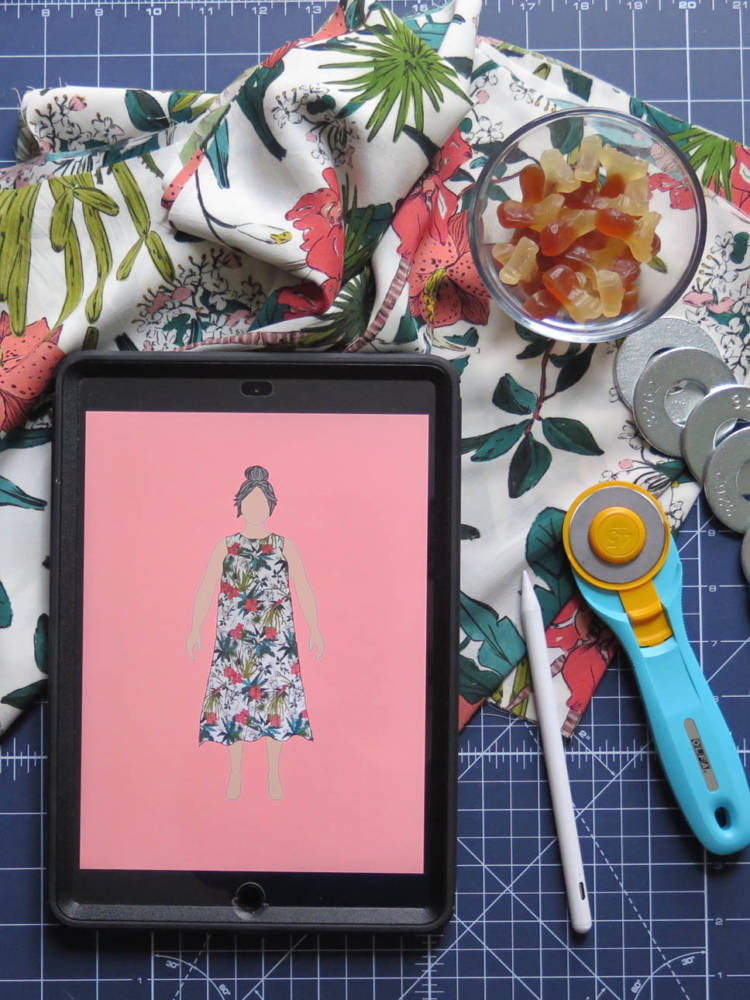
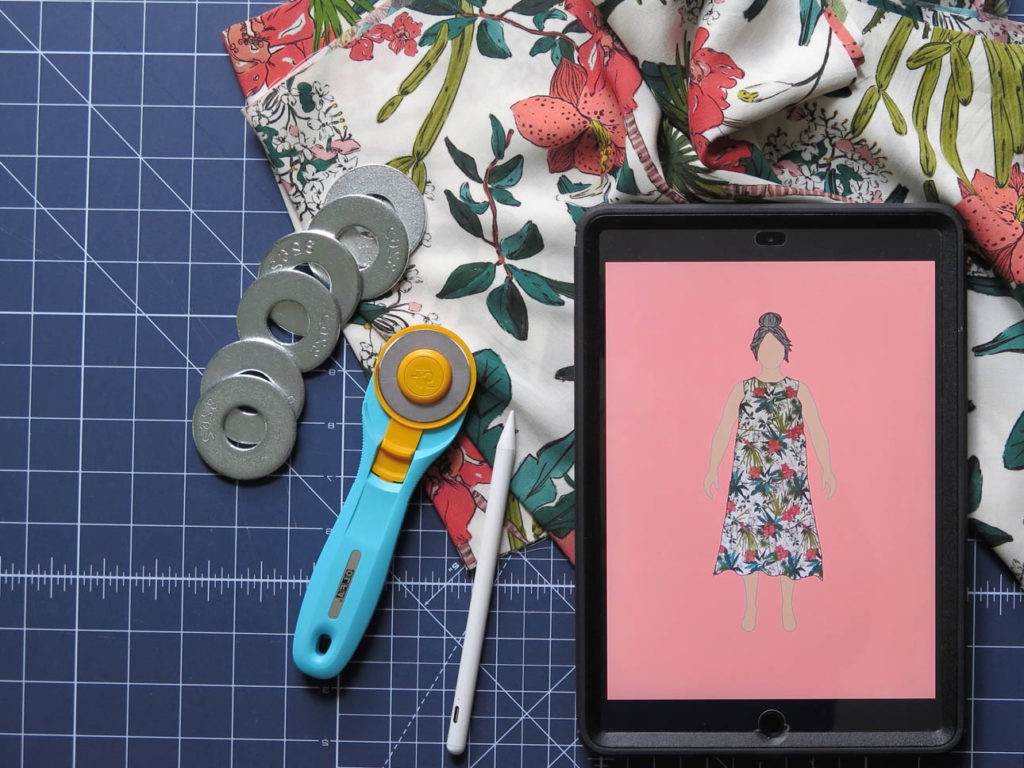
Want to learn how to draw digitally on your tablet, and easily visualize fabric & prints by incorporating photos of fabric in your designs? Check out MyBodyModel’s “Digital Drawing Basics” on-demand video class at Illustrated Style School!
Did you enjoy this blog post? Please comment, pin, and share!
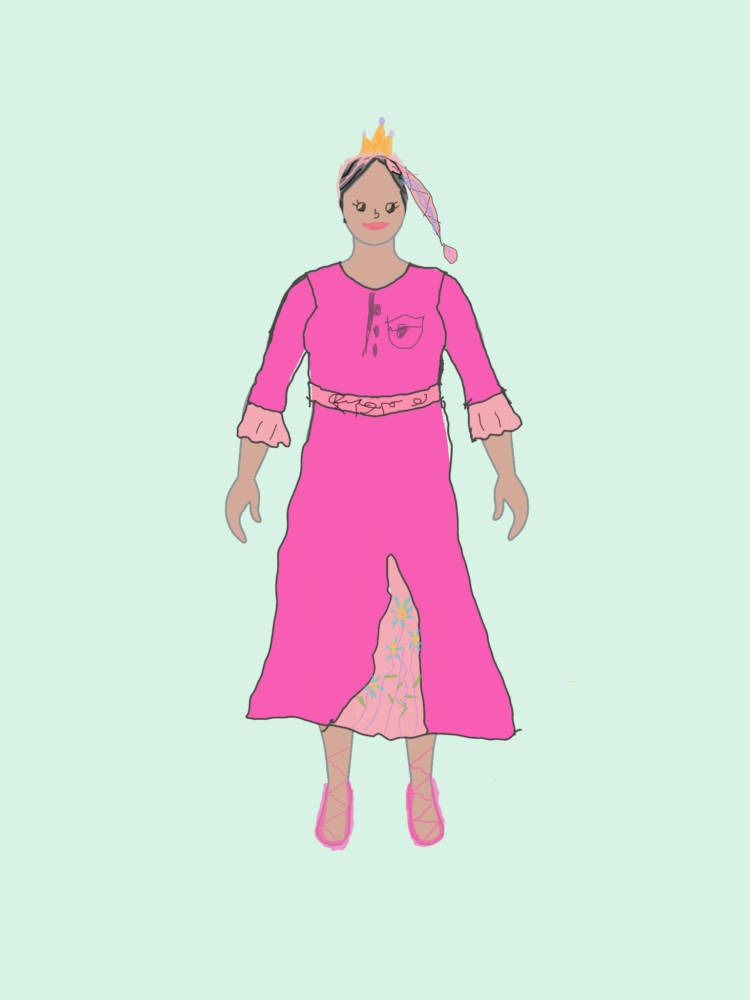
Bonus content: My 8 year old daughter has started “designing dresses” on my croquis. I remember doing this as a kid. I also remember that the dresses I designed had Barbie doll-esque proportions. I love that my daughter is designing dresses on a REAL body.

My name is Reiko Anderson (she/her). I was born in Japan and moved to Vancouver, Canada when I was about 1.5 years old. I still live in Vancouver today. My mom was trained in traditional Japanese sewing in Japan and I remember her sewing when I was little. I have sewed for years but had never sewed garments until the pandemic. Now I’m hooked! You can follow my sewing adventures on Instagram @madebyreiko.

4 thoughts on “Fashion sketching adventures: Sewing the perfect Ashton dress hack”
Inspiring ideas and work, Reiko! You are a woman of many talents.
Sheila
Thanks Sheila! That’s high praise coming from you!
This was such a fun process, Erica. Thanks for having me!
Absolutely loved reading your journey and really seeing how I could do it too digitally. I was afraid of trying to draw with colored pencils because I never did well in art. I also loved how you decided the cute small print made a better jacket!
Thank you for doing the guest post.